The most important thing to remember is the routing, always route your extractors and factories to a launchpad or silo instead of directly to the next production step. This will prevent you from losing production because of lack of storage space.
Coolant is produced by combining water (refined from aqueous liquids) and electrolytes (refined from ionic solutions).
The actual numbers are 6k P0 materials to 40 P1 materials (times 2) to produce 5 P2, my numbers are multiplied by 4 so it is a nice round figure for P3 or P4 production.

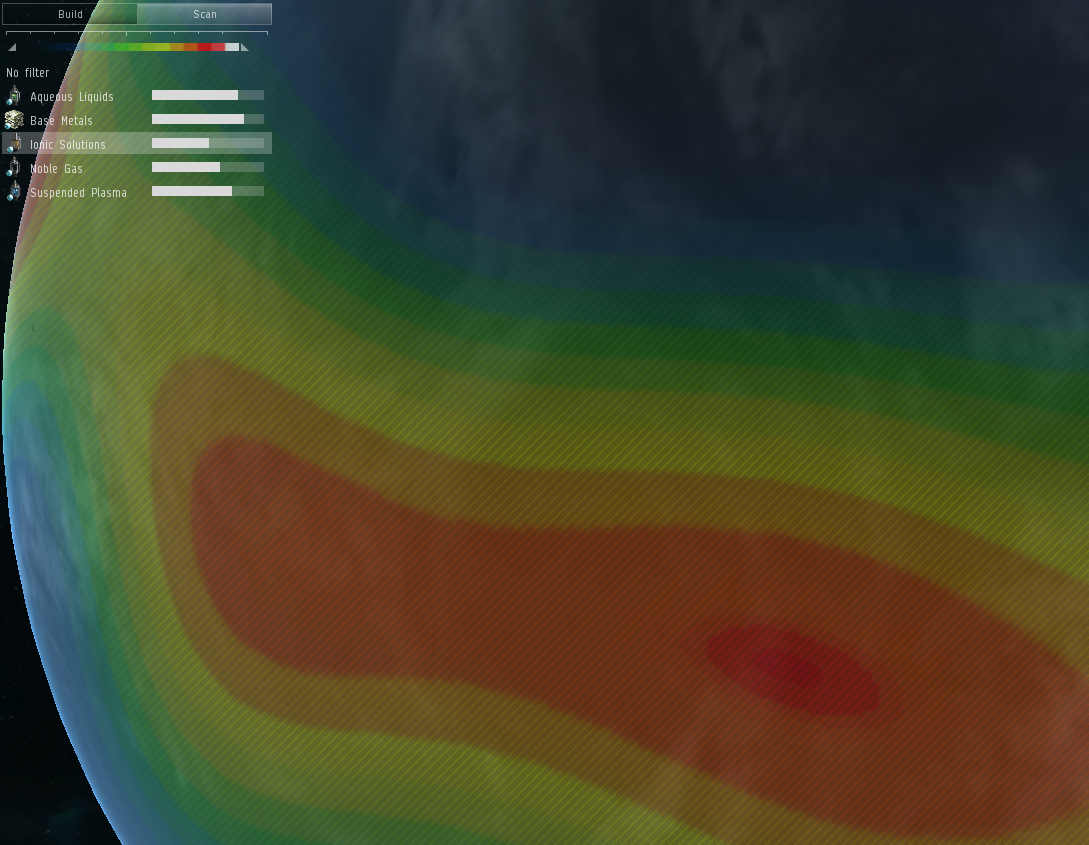
The first thing we have to do is locate a suitable planet. Coolant can be produced locally on gas and storm planets. In this case I chose a storm planet as these are generally smaller in size and have a better supply of aqueous liquids. We are looking for a place that offers both of these resources close together.
An image showing availability of aqueous liquids

The same area showing ionic solutions
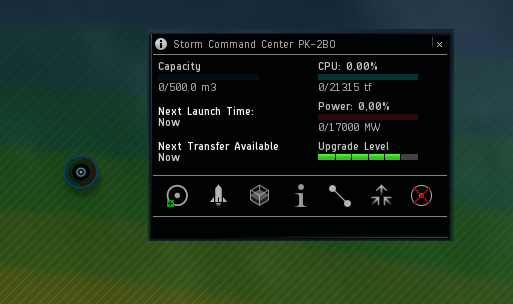
Once we have located a suitable spot it is time to put down a command center and upgrade it.
Command center, upgraded to level 4, placed roughly between the two extraction materials.
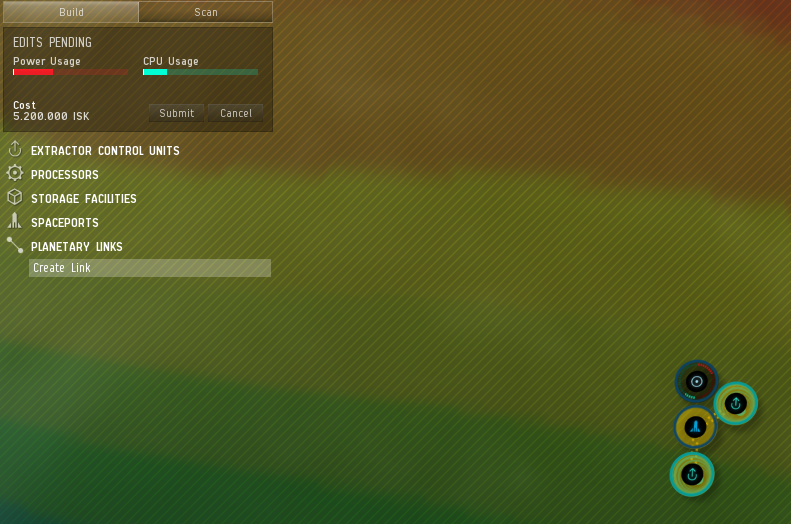
Next I put down a launchpad and two extractor control units. One ECU to extract aqueous liquids and another one for ionic solutions. In our example we can place the extractors right next to the launchpad. To finish I create planetary links between the launchpad and the ECU's.
Image showing the CC, launchpad, ECU's and planetary links.
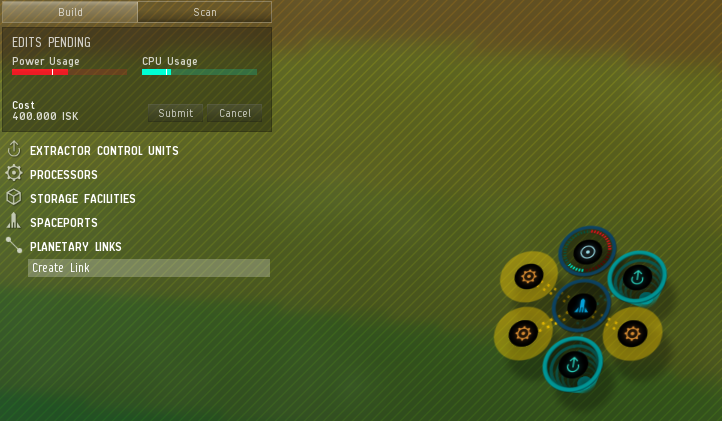
After this it is time to place some factories on the planet. I will start with the minimum, one basic factory to refine water from aqueous liquids, one basic factory to refine electrolytes from ionic solutions and one advanced industrial facility to produce coolant from the water and electrolytes. With planetary links connecting the factories to the launchpad.
Image showing the factories being added to the setup.
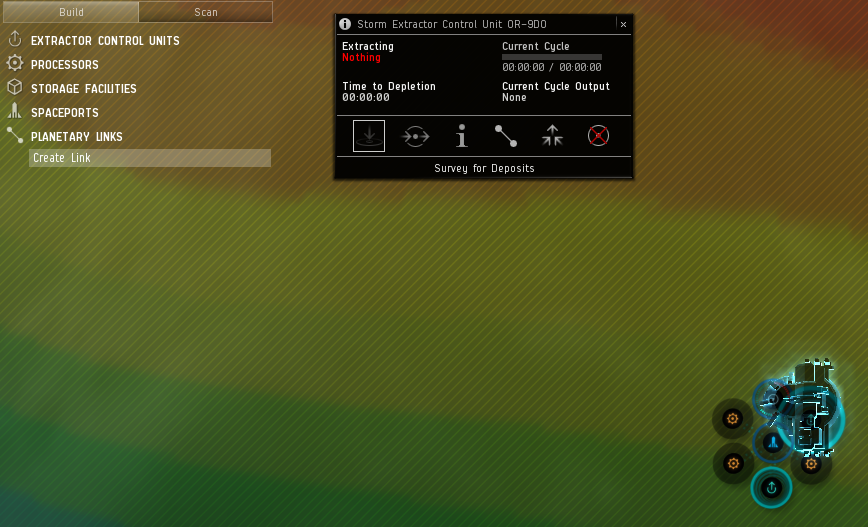
Next we will add some extractor heads to the extractor control units. Select the ECU and choose 'Survey for Deposits'
ECU selected for surveying
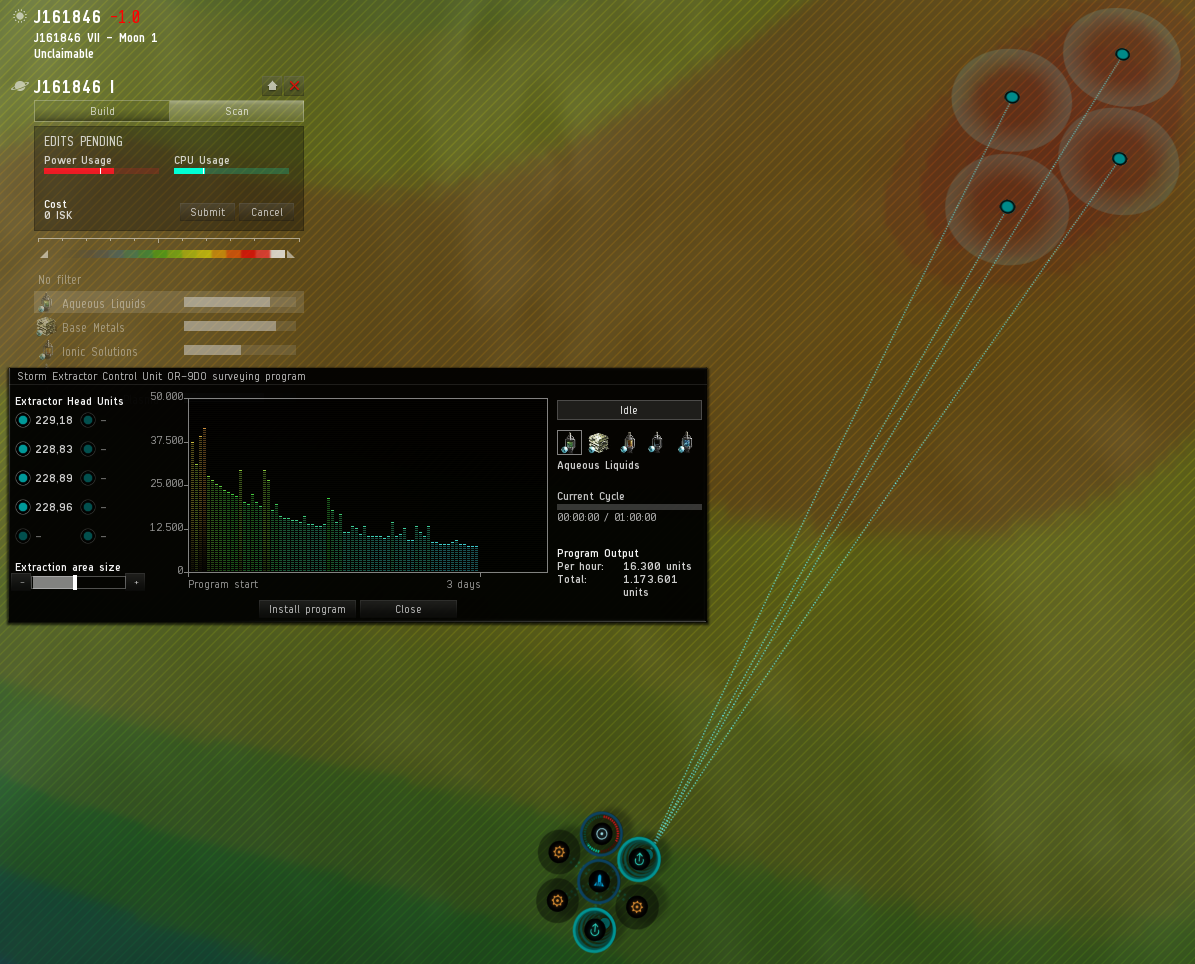
On the ECU I now select aqueous liquids as materials to extract, I set a program duration (3 days for now), I select how many ECU heads I want (I start with 4 in this example) and place them on the highest concentration of aqueous liquids.
Program output will average 14.000 aqueous liquids per hour, the initial rate will be higher and drop over time.
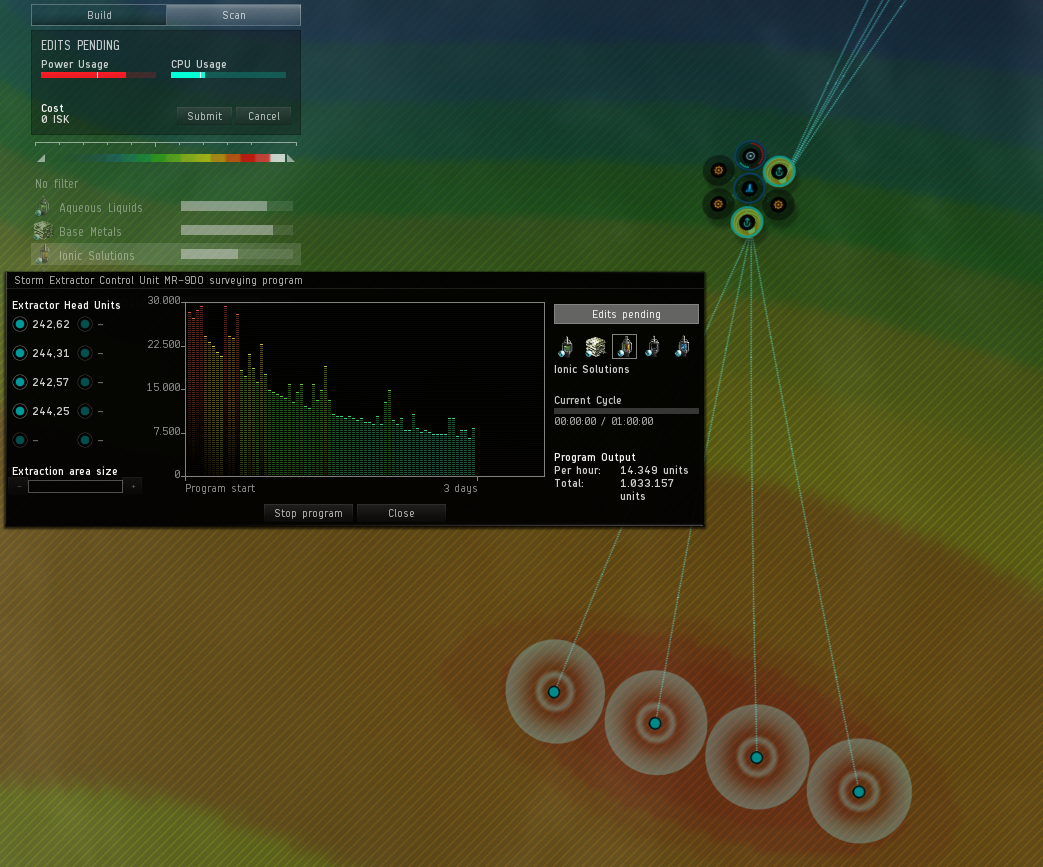
Repeat this step for the second ECU.
Ionic solutions ECU with 4 heads, 3 days run time.
We still have to route the extracted materials to a destination so I select the ECU and select the products button to create a route to the launchpad. Do this for both products.
Products tab on the ECU
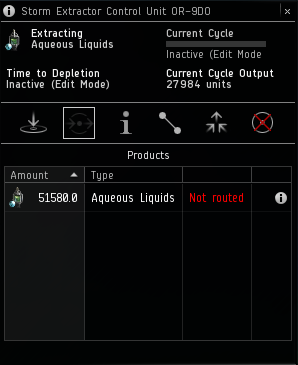
Creating a route to the launchpad

After this it is time to select factory schematics. I select the first basic factory and scroll down to select water as the product to create and routing the output back to the launchpad.
Selecting water as product
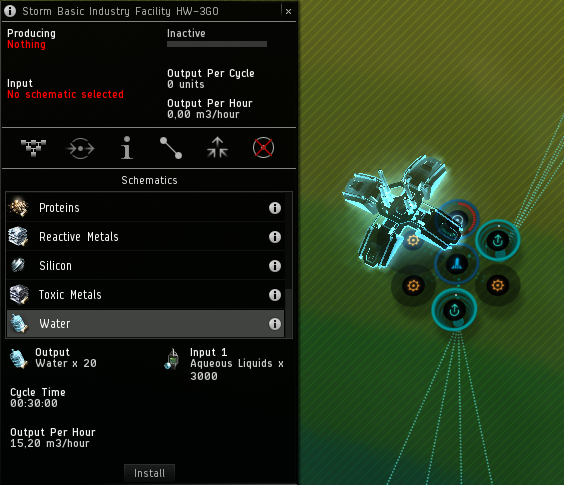
Routing output to the launchpad
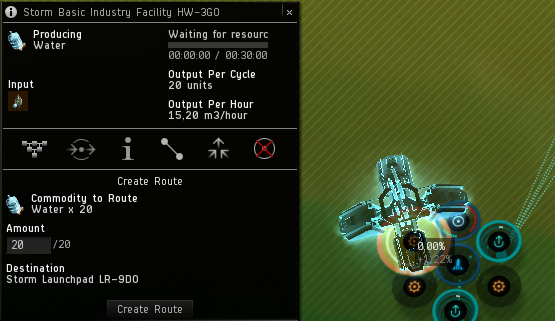
The other basic factory will build electrolytes and the output will be routed to the launchpad again.
The advanced factory will produce coolant and output will be directed to the launchpad.
Advanced industrial facility schematic selection.
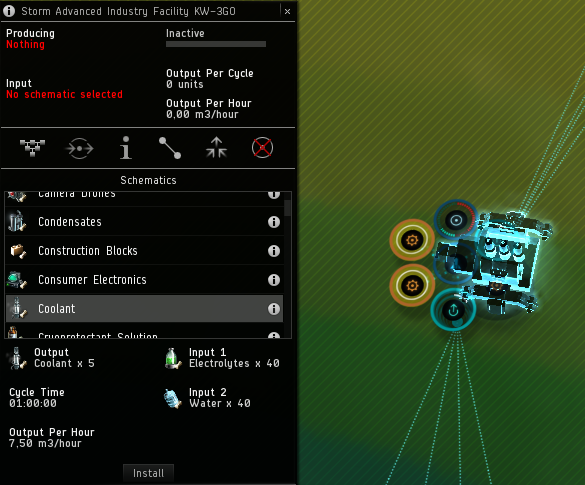
Routing the coolant output to the launchpad
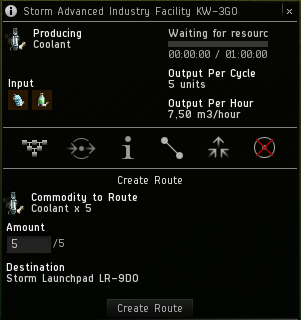
The final step before our planet is operational is routing aqeous liquids and electrolytes to the basic facilites and routing water and electrolytes to the advanced facility.
To create routes while there is no product in storage we can select the launchpad and view the existing routes. This will allow us to create a new route. Select the incoming product you wish to route, click the create route button and select a destination (the factories you need to supply with materials).
Aqueous liquids are selected to create a route from the launchpad to a factory.
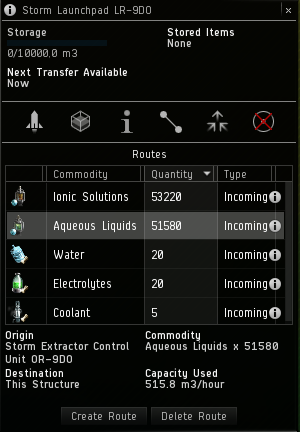
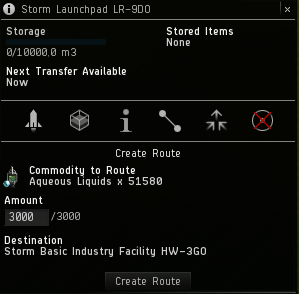
Do this for aqueous liquids, ionic solutions, water and electrolytes. You cannot create a route to send materials to a factory until that factory has a schematic selected and you can only route materials used in the schematic.
After this step your launchpad routing will look something like this.
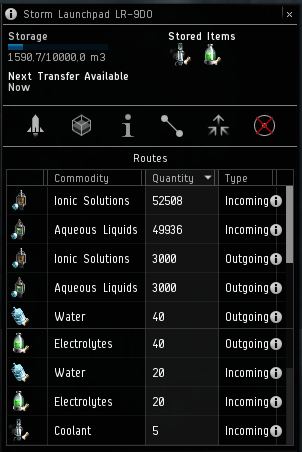
Finally you can add more factories and if storage space is an issue you can use silos or lauchpads for additional storage. Each P1 factory consumes 3000 P0 materials during its 30 minute cycle or 6000 per hour and produces 20 P1 per cycle, 40 per hour.
A P2 factory requires 40 P1 materials as input for its one hour cycle and produces 5 P2 output.
This means that for every 6000 P0 you extract per hour you can put down one set of factories. Our setup extracts about 14k P0 per hour so can feed 3 factory sets.
With CCU 4 my planet lacks the PG to add a third coolant factory
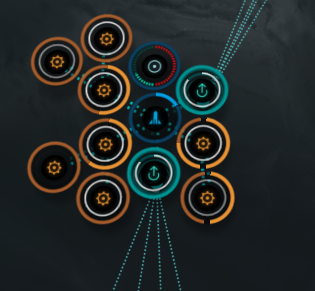
As stated right at the start the most important thing is setting up your routes correctly.
Extractor > launchpad/silo > basic factory > launchpad > advanced factory > launchpad
This is just one example on how to set up a planet, it might not even be the most effective and in fact probably isn't. It certainly is the lowest maintenance I can come up with.
If you have any suggestions for improvements or if I missed something I'd love to hear it. And despite the length of the post, setting up PI is easier as it seems. But the initial setup certainly does involve a lot of clicking.
No comments:
Post a Comment